
Use InkSoft to generate sales and Order Desk to manage orders.
Order Desk gives you the ability to automate your order management process by splitting, filtering, and organizing your orders, then it automatically sends them to the fulfillment services that create, store, and ship your products.
With this integration, you can select how often you want Order Desk to look for and download new orders from InkSoft. Additionally, you can specify where new orders from InkSoft should be stored in Order Desk. Automate it how you like.
If you haven't already, we would highly recommend getting an account with Order Desk. Please see the link here to explore their options and create your account before proceeding.
IMPORTANT NOTE: The first part of setup will include creating a custom link. This base URL will require having an Api2 slug at the end. You do NOT need to have an API license to achieve this integration. All of our customers have access to this benefit.
---
Getting the Base Link
To connect the accounts, you will need to create a custom URL. This is easily found and created within InkSoft so, the first thing you will do is login to your InkSoft account. Next, navigate to your Admin Portal > Dashboard. At the top, copy the link in the URL bar.

Formatting the Link
We will now need to make some edits to this link before we can use it. Below is the editing process. You will start with a link similar to this one:
https://stores.inksoft.com/tennessee_proud_printing/Config/FulfillmentLanding
Step 1: Remove the excess information at the end
https://stores.inksoft.com/tennessee_proud_printing/
Step 2: Type in Api2/ at the end
https://stores.inksoft.com/tennessee_proud_printing/Api2/
Example:
https://stores.inksoft.com/tennessee_proud_printing/Config/FulfillmentLanding
turns into
https://stores.inksoft.com/tennessee_proud_printing/Api2
If your URL looks like the one above, you're good to proceed! Go ahead and copy that link and hold onto it. You will need it in just a moment.
Note: Please keep in mind two things.
If you are using a custom domain, it will not say "stores.inksoft.com". That is okay, you can use your custom domain in this link. The same applies for "tennessee_proud_printing" in the example. It will not say this in your link. This part is unique to your website. It will likely be your company name. Whatever the case, use what you are copying from the Dashboard.
---
Enabling InkSoft in Order Desk
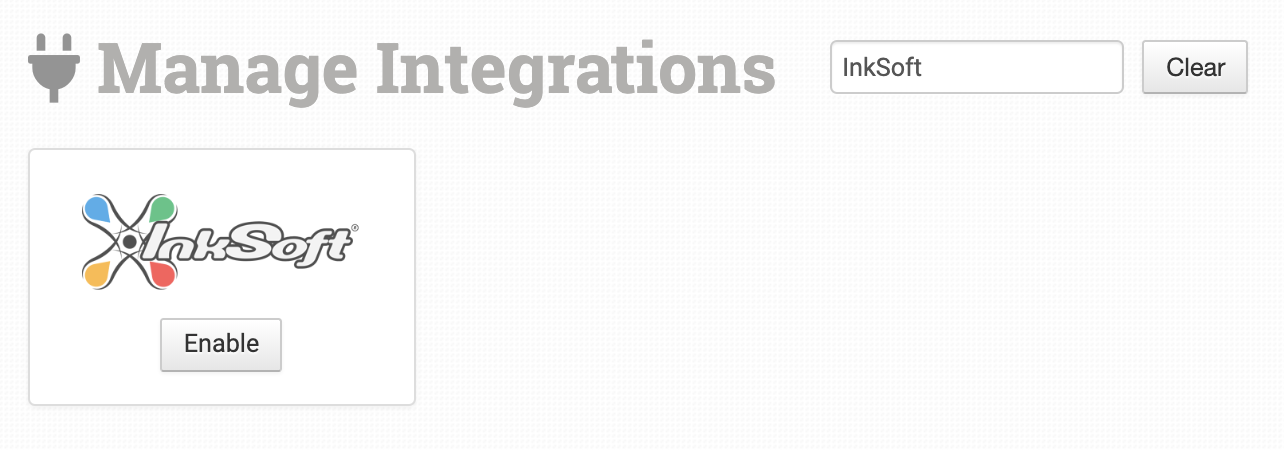
You will begin this process by logging into your Order Desk account. Next, click on Manage Integrations under the Integrations menu in the left sidebar. Under the Shopping Carts tab, find and enable InkSoft.

Alternatively, you can search for InkSoft from the available integrations search.
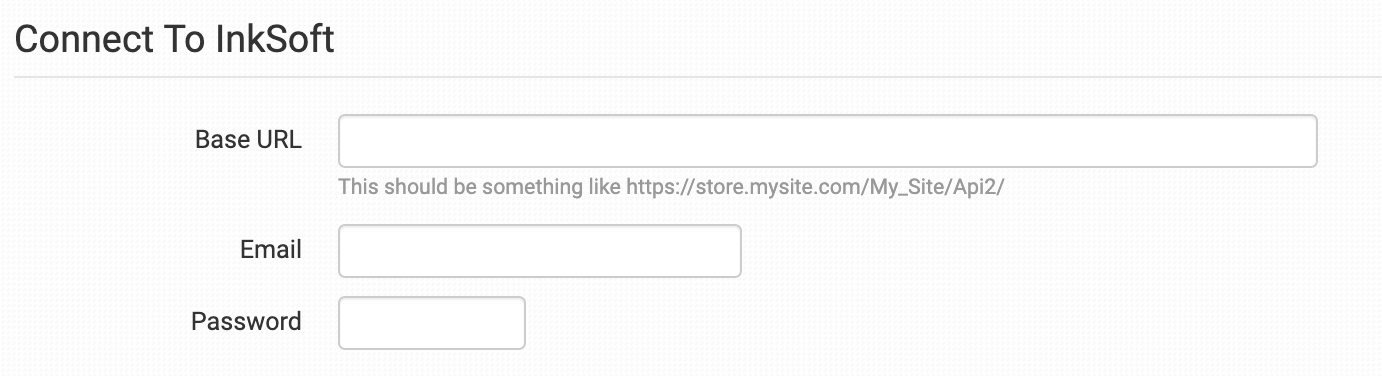
Connecting the Accounts
This is where your link comes into play! Simply paste it into the Base URL bar. Input your InkSoft credentials to complete the connection. And with that, you're nearly finished. Enter the same Email and Password you use to login to your InkSoft Admin Account.
Integration Settings
Once connected, you can set your integration preferences as shown below. When you have confirmed your settings, you're finished! Orders will now automatically transfer to Order Desk.
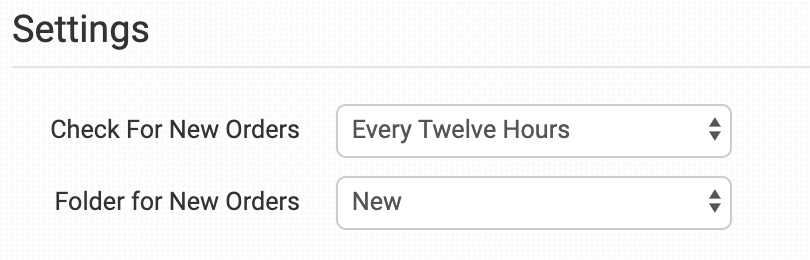
Check for New Orders
Select how often you want Order Desk to look for and download new orders from InkSoft.
Order Desk will look for the last 50 orders when it checks InkSoft.
Folder for New Orders
Select the folder where newly imported orders from InkSoft should be placed.
---
For more help with Order Desk, make sure to visit their knowledge base here.
Comments
0 comments
Article is closed for comments.